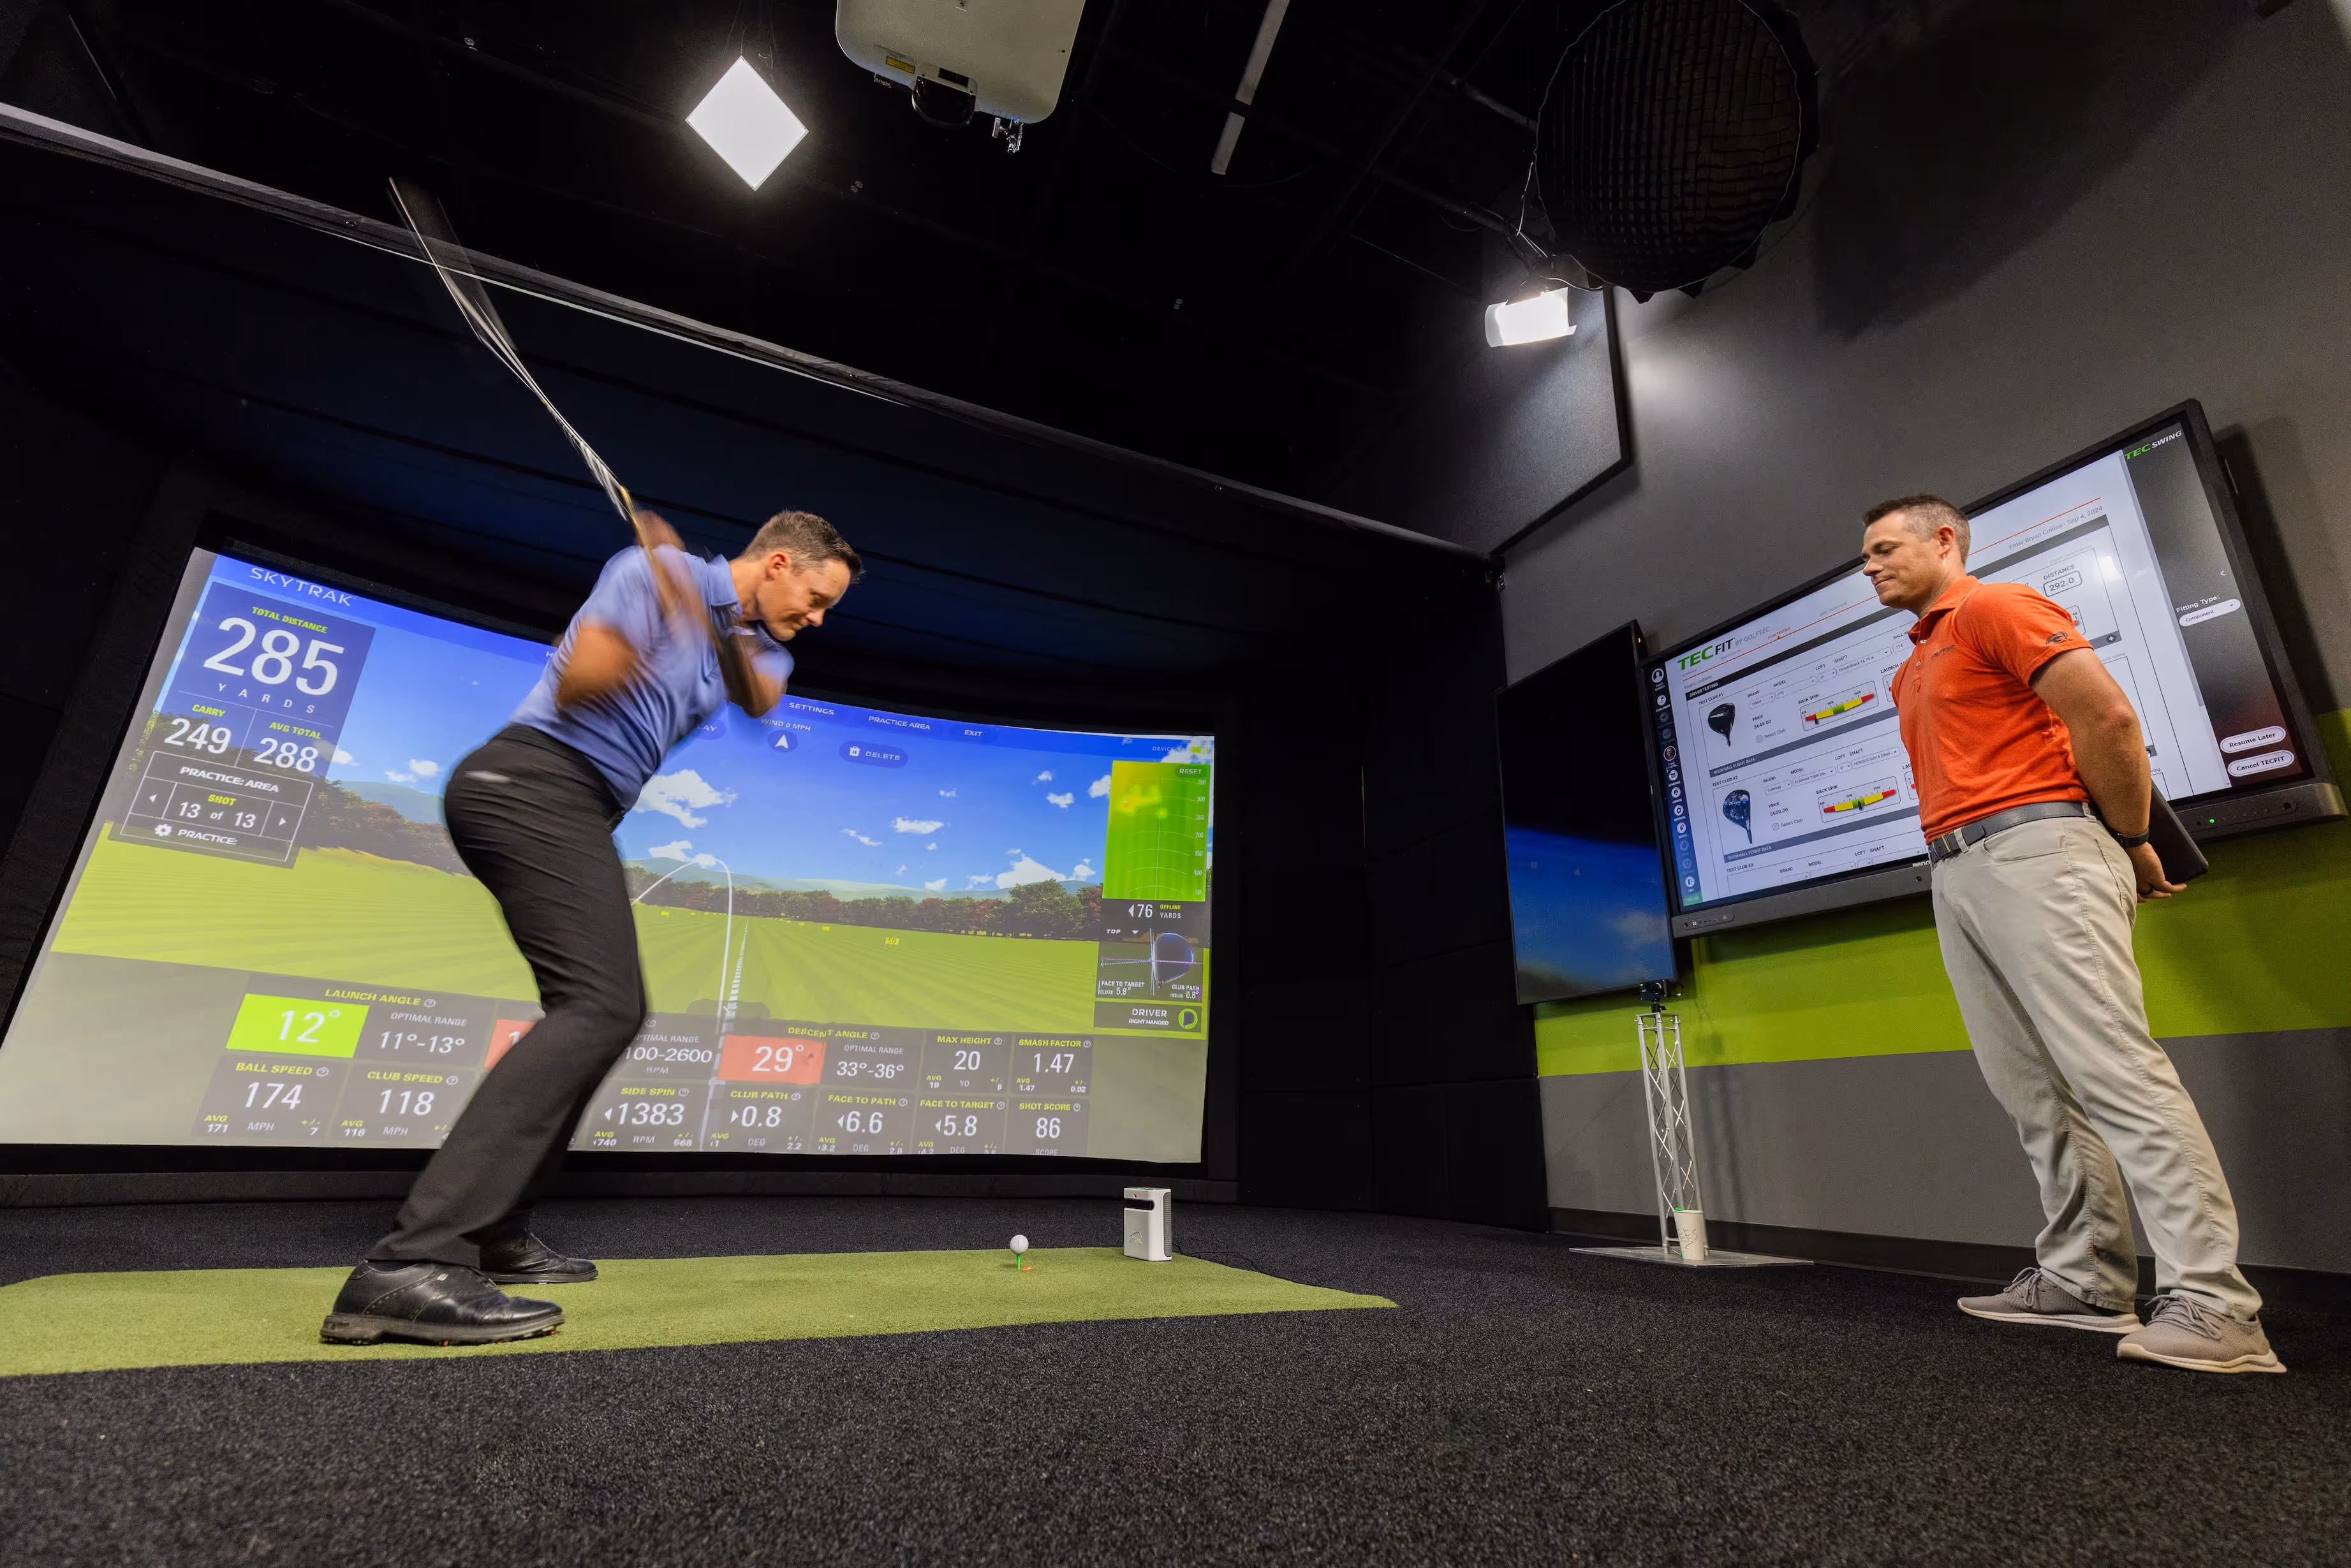
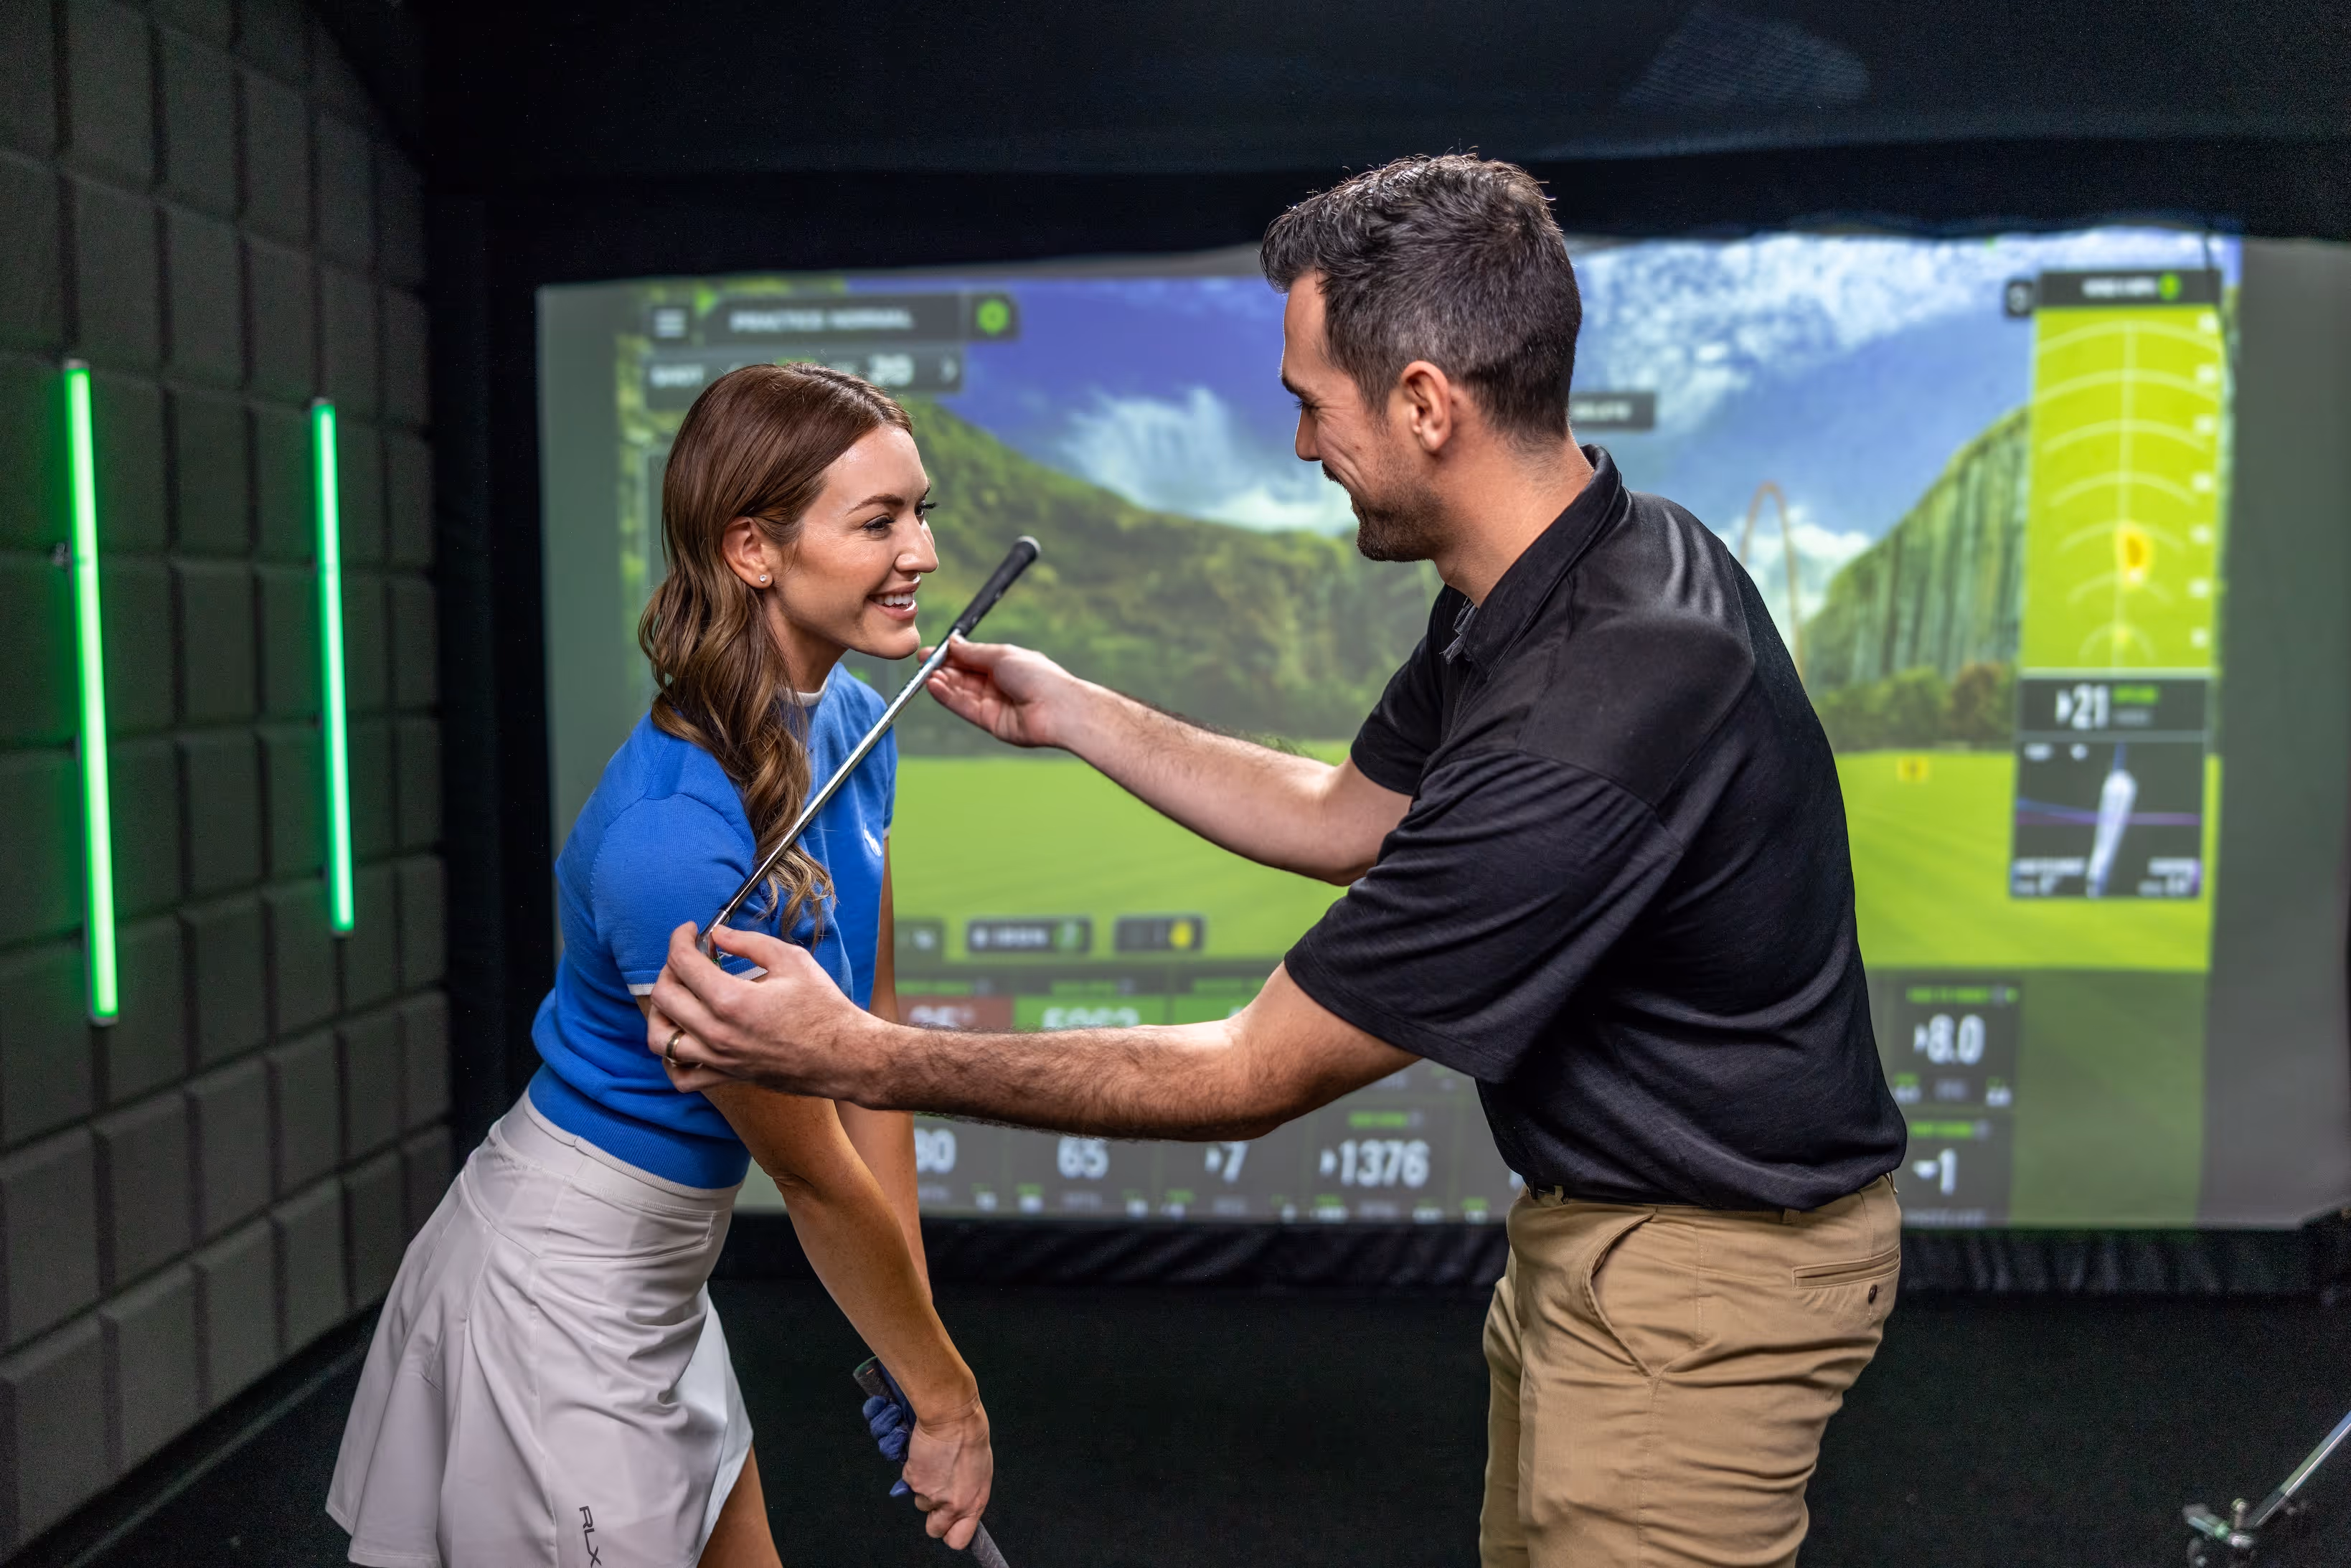
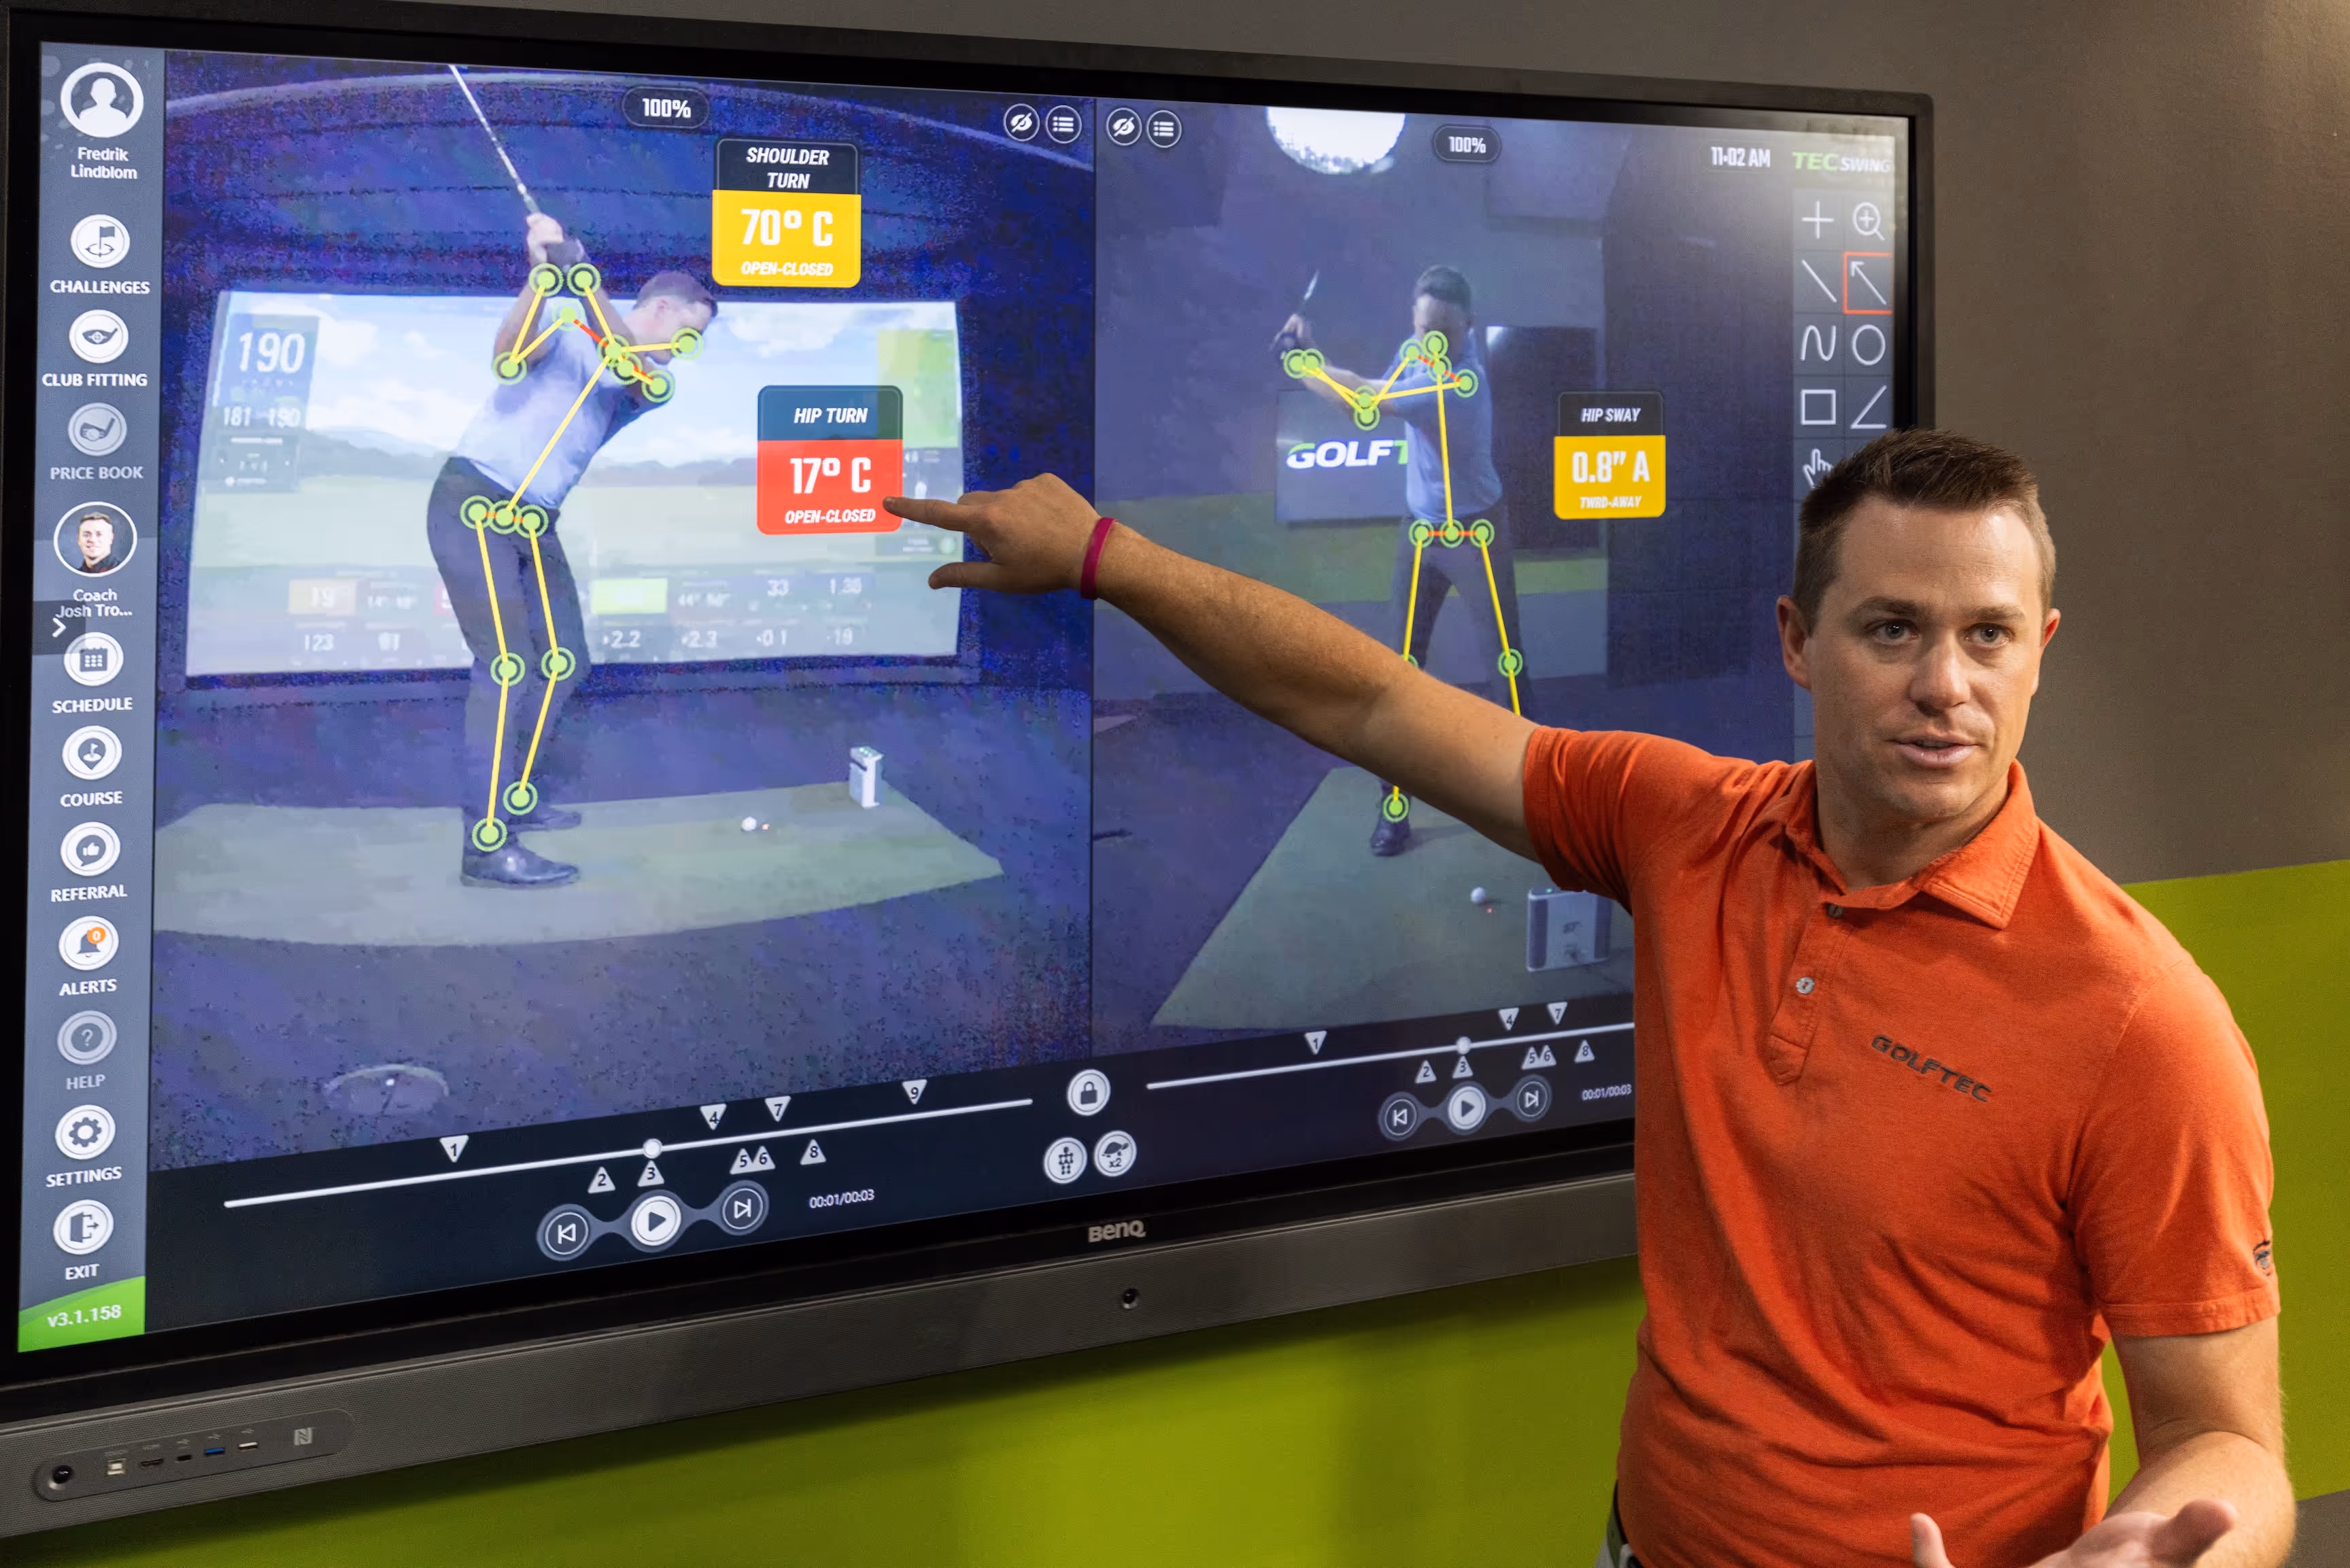
Hole more putts like Matt Kuchar with the arm-lock putting style 

By Chad Pearson

We’re deep into the 2016 golf season and gone are the days of the anchored putting stroke, according to Rule 14-1b of the USGA Rules of Golf.

If you’re one who has trouble stabilizing your putting stroke under these new sanctions, the arm-lock putting style may just be your ticket to making putts again. Players like Matt Kuchar have used this style to great success, and now you can adopt it, too.


The arm-lock putting style

The arm lock style gets it’s name from how the putter stays connected to the golfer’s lead forearm throughout the putting stroke. At address, the golfer presses the grip against the lead forearm (beneath the elbow with significant forward shaft lean. This bracing effect keeps the putter head from rotating too much through impact.


Length and equipment

Just about every major putter manufacturer makes an arm lock putter these days, but but due to the nature of the stroke and address position, the length and loft of these putters are extremely important to get right.

Length: You can find your ideal arm-lock putter length by pressing a traditional putter toward your lead arm, then measuring from the top of the club to a point just below the elbow joint. The sum of the two lengths is your ideal arm lock length (for example, a 33-inch putter plus 10 inches from the club to elbow would call for a 43-inch arm lock putter).

Loft: Because of the forward lean of the putter in the arm-lock putting style, we need to counter the decrease in loft this creates with a higher lofted face. A traditional putter loft of around 3.5 degrees therefore won’t work, so arm-lock putters generally have lofts that vary from 8 to 12 degrees.


Proper setup positionArm Lock Putting Setup

At address, brace the putter grip against the lead forearm (left arm for right-handed golfers) to produce a straight line. It’s important to note that according to Rule 14-1b, the grip cannot touch a point above the elbow joint at any point. This is considered anchoring and a two-stoke penalty, or loss of hole in match play.

Next, the trail arm is placed in its traditional position. You can also grip the club traditionally, or with a claw grip. Experiment with what feels best for you!

Finally, elbow placement is paramount. For golfers with bigger midsections or chests, both elbows should be outside the ribs. For golfers with flatter torsos, the elbows should be pinched together under the chest.


Mastering the motion

Now for the fun part. Just before the stroke begins, think of three distinct pressure points:

1. Palm of the top hand
2. Elbow of the lead arm
3. Palm of the bottom hand

Arm lock putting follow through
Do THIS …
Arm lock putting incorrect follow-through
Not this!


The goal is to feel pressure on all of three of these points as constant as possible throughout the stroke, as well as maintain the putter handle’s braced position on your lead forearm.

By maintaining this position throughout the stroke, as noted in the figure above to the left, you’ll get the full value and consistency of “locking” everything in. Conversely in the figure above to the right, if the putter face leads through instead and the handle of the putter trails away from the lead arm, then an unstable swing and inconsistent stroke through impact are created and this style will work against you, not for you.

So get yourself an arm-lock putter fit correctly for you and your stroke, and employ the correct arm-lock putting stroke characteristics to watch yourself start making more putts immediately!

1 COMMENT

  1. Great Tip Chad!

    Will try out a longer putter with this technique at Golfsmith & let you know the results.

    Keep those tips coming as “the project” needs all of the help I can get!

LEAVE A REPLY

Please enter your comment!
Please enter your name here